How to Make a Rolling Utility Cart for Storage and Extra Work Surface
You know that feeling when you're cooking and suddenly run out of counter space? Absolute nightmare. A true small space solution doesn't mean you have to settle for flimsy plastic bins. We're building a rolling utility cart DIY style. It’s sturdy. It’s functional. And frankly, it looks a hundred times better than whatever is sitting in the flat-pack furniture aisle right now.
Keep the Materials Stupid Simple
Don't overthink this. You don't need a massive workshop or a master carpenter's degree. For this beginner woodworking project, we’re sticking to the basics. Get standard 2x2s for the legs and thick plywood for the shelves. You want materials that can take a beating. Grab four heavy-duty locking casters while you're at the hardware store. Never skimp on the wheels. Trust me.
The Frame Comes First
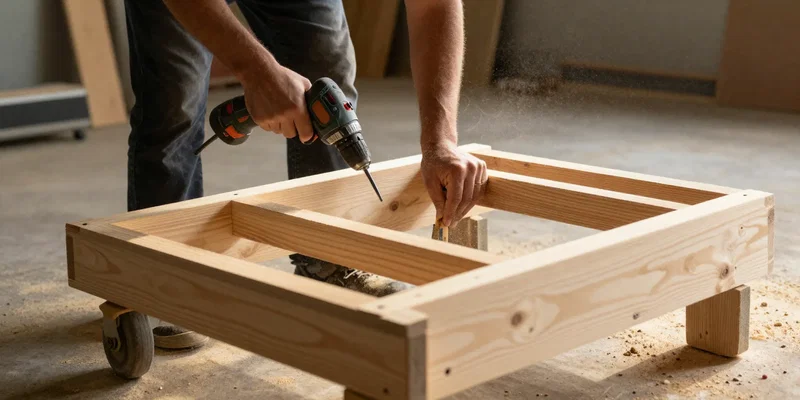
Cut your 2x2s to your desired height. Usually, 36 inches matches standard countertops perfectly. Connect them using simple pocket hole screws or basic butt joints if you're feeling lazy. Just use plenty of wood glue. This is the skeleton of your storage furniture project. Make it square. If it wobbles now, it will definitely wobble later when it's loaded down with heavy pots and pans.
Shelves That Actually Hold Weight
Drop those plywood shelves right into the frame. Two shelves are good. Three is better. Space them out depending on what you plan to store. Need room for a massive stand mixer? Measure that beast first. Secure the shelves with screws straight through the frame. Pre-drill your holes. Splitting wood at this stage is enough to make anyone throw a hammer across the garage.
Slap on the Top and Let It Roll
Flip the whole thing upside down. Attach those locking casters to the bottom of the legs. Now flip it back and screw on your top work surface. A cheap butcher block remnant works magic here. Sand it down. Throw some mineral oil on it. You just built a custom rolling utility cart. Roll it into the kitchen, lock the wheels, and get to work.